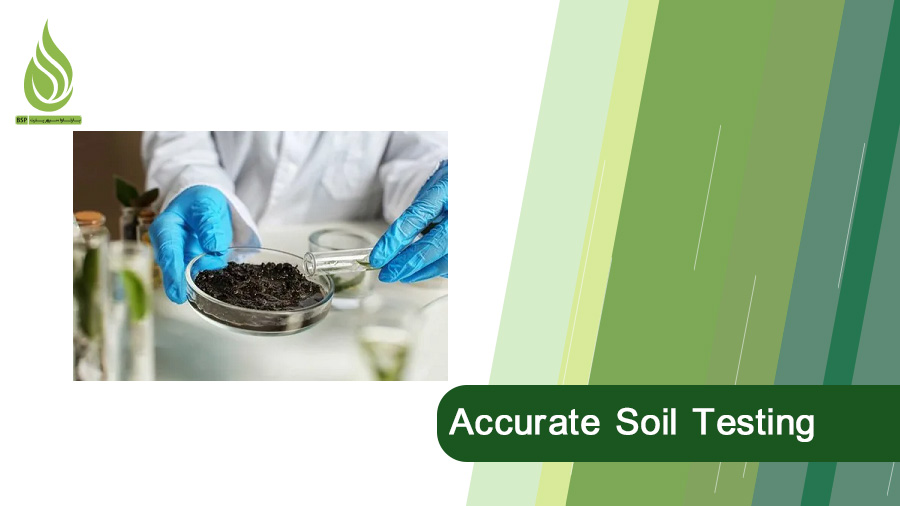
How to Effectively Sample Agricultural Soil for Accurate Soil Testing?
Soil testing allows farmers to gain more accurate information about the nutritional and physical condition of their soil. The results from these tests help farmers make better decisions about planting and farming. But the question is, how is soil sampling done for testing? In this article, we’ll explore the steps involved in soil sampling for soil testing. We’ll also explain how farmers determine their fertilization plans based on soil test results.
What is Soil Testing and Why is it Important?
Soil testing is the process of examining and analyzing the physical, chemical, and biological characteristics of soil. This testing helps farmers and researchers gather precise information about soil conditions, nutrient levels, pH, texture, and other important soil properties. Typically, the results are presented in detailed reports with specific measurements. Soil testing is essential for several reasons:
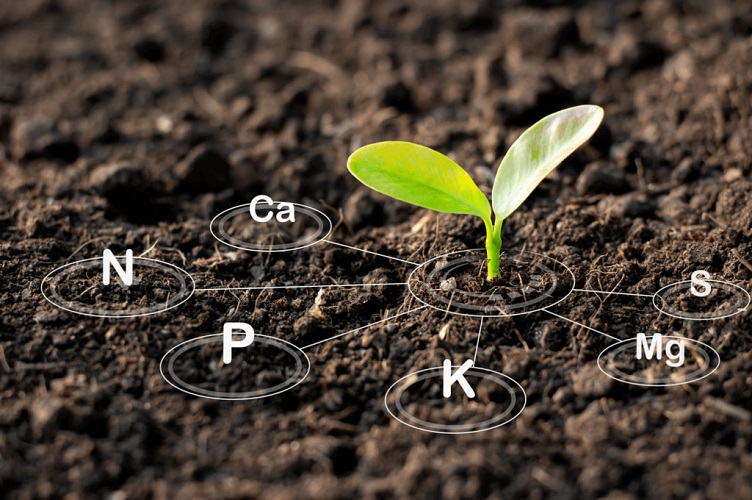
- Optimizing Plant Nutrition: Soil tests help farmers identify the nutritional needs of their plants. By knowing the levels of nitrogen, phosphorus, and potassium in the soil, they can create an effective fertilization plan.
- Preventing Deficiencies and Toxicities: By conducting soil tests, farmers can become aware of any nutrient deficiencies or excesses in the soil and take necessary actions to correct them.
- Water Management: Soil testing can help determine the soil’s water retention capacity and permeability. This information is vital for planning irrigation and managing water resources effectively.
- Improving Crop Quality and Yield: By identifying and addressing soil issues, farmers can enhance the quality and yield of their crops. For instance, if the soil pH is not optimal, farmers can implement strategies to adjust the pH to ideal levels, improving plant and tree performance.
- Long-term Planning: The information gained from soil tests assists farmers in making long-term plans to improve their soil health.
What Are the Methods for Soil Sampling?
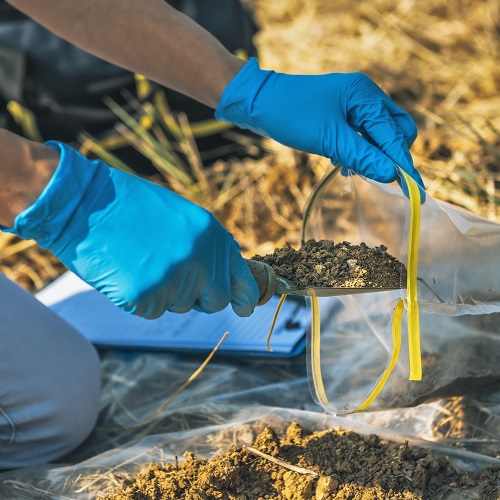
Soil sampling is the process of collecting soil samples from different areas of a farm or garden. There are various methods for sampling soil, and here are some of the most practical ones:
- Random Sampling: In this method, samples are collected randomly from various points in the field. This approach is great for getting a general assessment of the soil’s condition.
- Systematic Sampling: Here, samples are collected in a regular and predetermined manner. For example, sampling points can be set in a triangular or linear pattern. This method is useful for studying soil variations in specific areas.
- Point Sampling: This method involves collecting samples from specific points that have unique characteristics. It’s typically used to investigate particular problems like contamination or nutrient deficiencies.
- Depth Sampling: This approach includes collecting samples from different soil depths. It helps in examining how soil properties change at various depths, which is important for understanding root conditions and the effects of irrigation.
- Composite Sampling: In this method, samples are taken from multiple points and then mixed together to create a single overall sample for the area. This approach helps provide a comprehensive picture of the soil.
Steps for Soil Testing
Here are the steps involved in soil testing:
- Determine the Purpose of the Test: Before you start, you need to clarify what you want to achieve with the soil test. Are you looking to check the nutritional status of the soil, or do you want to address issues like soil salinity?
- Soil Sampling: In this step, you’ll collect soil samples from different spots in your field. Use the appropriate tools for sampling. The number and location of samples depend on the type of test and its purpose. Make sure to place the collected samples in suitable containers, like paper or plastic bags, to prevent contamination and changes in the soil’s composition. Record important information accurately and label the bags with details like the section name, sampling date, crop name, and the depth of the sample.
- Send the Samples: Deliver the samples to the lab as quickly as possible (within 24 hours). If you can’t do that, dry them at room temperature to remove excess moisture, but avoid exposing them to sunlight. If there are clumps in the soil, break them up to ensure that all parts dry completely.
- Chemical Soil Testing: This involves determining the levels of pH, nitrogen, phosphorus, potassium, and other nutrients in the soil. The test also checks for any contaminants.
- Physical Soil Testing: This focuses on examining the soil’s texture, water retention capacity, and permeability. This information is crucial for managing irrigation and plant nutrition.
- Interpreting Results and Analyzing Data: After the tests are completed, the data must be analyzed. The results will help farmers identify soil problems and find suitable solutions. The findings should be compiled into a detailed report that includes information about the soil’s condition and any issues identified.
Some labs may provide recommendations for improving soil conditions based on the test results and the report. Suggestions could include using the right fertilizers, amending soil texture, or changing irrigation methods. For example, if the soil’s pH is higher than normal, the lab might recommend using a sulfur fertilizer like ammonium sulfate to lower the soil’s alkalinity.
When is the Best Time for Soil Testing?
The best time to test your soil is before the growing season for trees and before planting crops. This timing allows you to check the soil conditions and make any necessary adjustments. You can also conduct soil tests in the fall after harvesting your crops. Testing at the end of the harvest season helps you identify the nutritional needs for the upcoming season.
If you’re planning to change your planting patterns or the type of crops you want to grow, soil testing can provide you with up-to-date and accurate information about your soil’s needs. Additionally, if you notice specific problems such as wilting, yellowing leaves, or reduced yields, testing the soil at that time can help pinpoint the causes of these issues.
Important Tip: It’s recommended that when you collect soil samples, the soil should not be too wet or too dry. Extreme moisture levels can affect the accuracy of your soil test results.
Important Tips for Soil Sampling
When sampling soil, it’s essential to divide your land into sections that have similar conditions. Then, collect samples from these distinct sections. If the entire area has similar characteristics, such as slope, soil type, and crop type, treat the whole area as one section and take samples from various spots.
- Collect Multiple Samples: For each hectare of land, gather at least 3 to 4 samples.
- Choose the Right Time: It’s best to sample when the soil is moist. Avoid sampling in overly wet, clayey, or dry soil.
- Sample Weight: Each sample should weigh at least 400 grams. To be sure, check with your lab about their preferred sample weight.
- Timing for Testing: Conduct the soil test before the initial irrigation or before applying fertilizers to your trees.
- Representative Sampling: Select sampling points that represent the entire area.
- Avoid Unusual Areas: Don’t collect samples from atypical locations, such as near fertilizer storage, water accumulation spots, or under shaded areas.
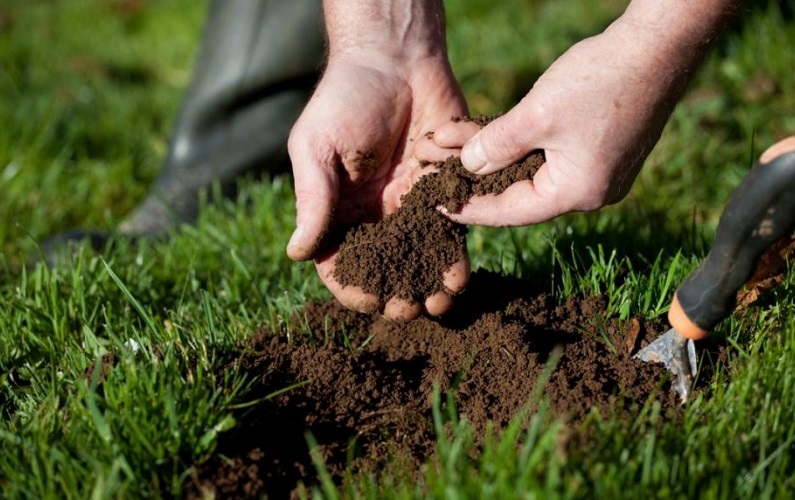
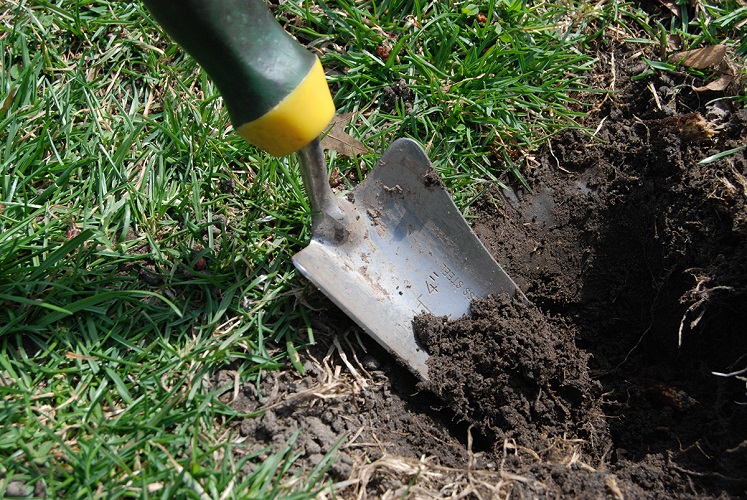
- Clear the Surface: Before sampling, remove any leaves and weeds. Use tools like a trowel or spade for sampling.
- Surface Soil Caution: The top 5 to 10 centimeters of soil often contains excess salts and minerals, so be careful not to include this layer in your samples. Also, avoid mixing in any soil that has been combined with animal manure.
- Depth of Sampling: Samples should be taken from different depths. It’s best to ask the laboratory what depths they recommend. Typically, in fields, sampling is done at depths of 10 to 30 centimeters, while in fruit orchards, it’s done at depths of 30 to 60 centimeters. In certain cases, deeper samples may be necessary.
- Record the Depth: Make sure to note the depth of each sample you collect.
