How to Make Leaf Mold & the Benefits of Leaf Mold for Soil
Leaf mold is obtained from the decomposition of plant and tree leaves. This organic material is used for soil bedding in gardens, yards, greenhouses, and pots. Adding leaf mold to soil increases its permeability and lightens its texture. Making leaf mold is very simple. If you have enough space to store dried leaves, you can create your own leaf mold. For those with gardens who need large amounts of leaf mold, producing it themselves can reduce costs. In this article, we will precisely introduce leaf mold, explain its benefits, and examine the steps to make it. Stay with us.
What Is Leaf Mold?
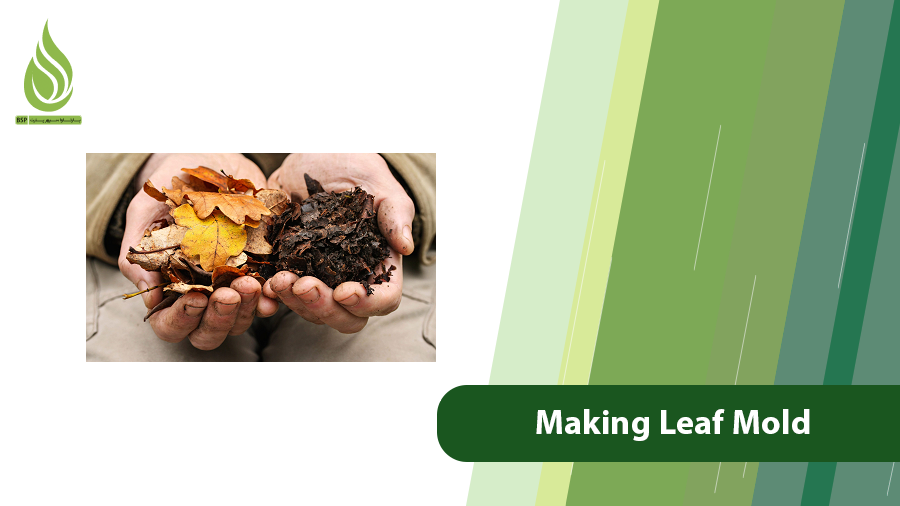
Leaf mold, also called leaf compost, is an organic material produced by the decomposition of leaves. Dry tree leaves, dried flowers, small branches, grass clippings, and other plant residues can be turned into leaf mold. Leaf mold does not have significant nutritional value and is not used as organic fertilizer. Its most important applications are improving soil permeability, lightening soil, and retaining moisture.
In areas with heavy clay soil, mixing materials like sand, leaf mold, etc., can lighten the soil. Improving soil texture enhances its productivity. Leaf mold can be purchased ready-made from flower shops or agricultural supply stores. However, if desired, you can make your own leaf mold in your garden, yard, or any suitable space.
Benefits of Using Leaf Mold in Gardening and Agriculture
- Improving Soil Structure: The most significant impact of leaf mold is its role in preventing soil particles from clumping together. This material increases soil permeability and enhances soil aeration, which is crucial for plant root development.
- Preventing Waterlogging: If soil lacks sufficient pores, it becomes waterlogged. Adding leaf mold creates adequate pores in the soil, preventing waterlogging.
- Preserving Microorganisms: Beneficial bacteria and earthworms feed on materials like plant residues. Leaf mold preserves the habitat of these organisms.
- Retaining Moisture: Leaf mold helps retain soil moisture and prevents rapid drying.
- Reducing Plant Waste: Using dried leaves and plant residues to produce leaf mold reduces environmental waste and supports environmental conservation.
- Preventing Air Pollution: Many gardeners burn leaves to control pests, which causes air pollution. Creating leaf mold not only eliminates these pests but also prevents air pollution caused by burning plant residues.
- Increasing Biodiversity: Leaf mold can help attract and sustain biodiversity in the soil, which is vital for healthy ecosystems.
- Controlling Pests and Diseases: Transferable pests and diseases, such as powdery mildew, fruit worms, mites, etc., can be partially controlled by burying leaves.
In this section, we explained the benefits of leaf mold. Leaf mold is a highly useful organic material but is not classified as an organic fertilizer because it does not play a significant nutritional role. In fact, leaf mold has minor positive nutritional effects, but these are negligible. It is primarily used to enhance soil structure, condition, and even improve soil texture.
Which Leaves Should Be Used to Make Leaf Mold?
It does not matter which tree they come from—leaves from all trees, shrubs, and plant residues are suitable for making leaf mold. The best leaves for producing leaf mold are thin ones. If you want leaf mold to be ready more quickly, use thin leaves such as sycamore or elm leaves.
Avoid using evergreen leaves, like bay leaves, to make leaf mold. Evergreen leaves require more time to decompose compared to other leaves. Therefore, it is better to use regular leaves that decompose faster. Another recommendation is to never collect leaves or leaf mold from forests.
Steps to Make Leaf Mold
Making leaf mold is a simple, natural process that can be done at home or in a garden. Below, we explain the steps to create leaf mold:
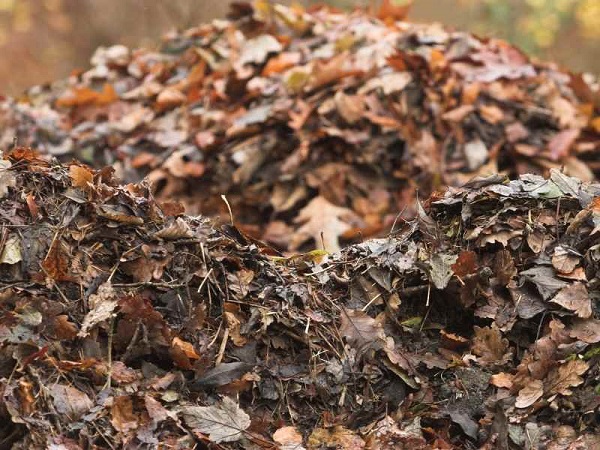
- Collect dry, dead leaves in the fall.
- Shred the collected materials into smaller pieces. This accelerates the decomposition process.
- Dig a pit in a corner of your garden or yard and place the materials inside.
- Moisten the materials by sprinkling water, but avoid waterlogging. Do this layer by layer: add a layer of leaves, then water them lightly.
- After all leaves are placed in the pit, cover them with a few centimeters of soil to protect the leaves. Then moisten the soil surface.
- Turn over the leaf mold pile monthly to allow air to reach all parts of the materials in the pit, ensuring proper decomposition. Water the pit once a month to speed up the decomposition process.
When the leaf mold is ready, you can remove it from the pit and use it in your garden or pots.
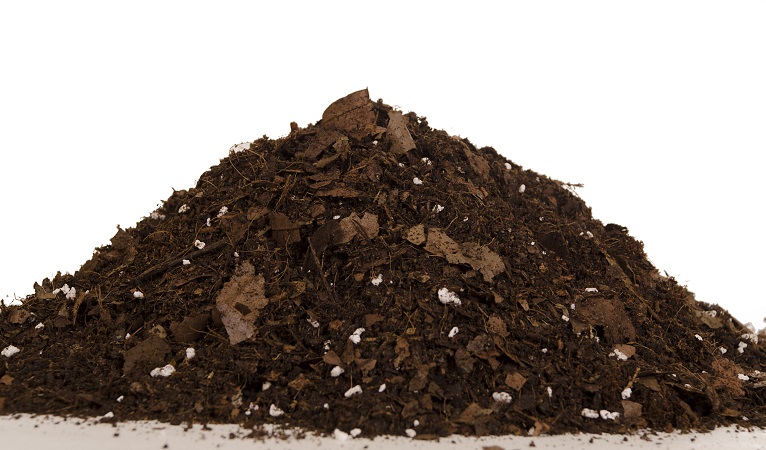
Over time, bacteria growth causes the leaves to decompose, resulting in finished leaf mold. Depending on the type of leaves and environmental conditions, the decomposition process can take between 9 months to 2 years. During this period, the materials should turn dark brown and powdery. 9 months to a year into the process, remove a few leaves from the pit and tap them. If the leaves crumble easily, the leaf mold is ready. If not, allow more time.
A key tip for making leaf mold is adding nitrogen fertilizer to the materials. Urea is commonly used for this purpose. Nitrogen fertilizers accelerate the decomposition of leaves. Each time you moisten the leaves, sprinkle some nitrogen fertilizer over them. This process promotes bacterial growth and multiplication.
Key Tips for Producing High-Quality Leaf Mold
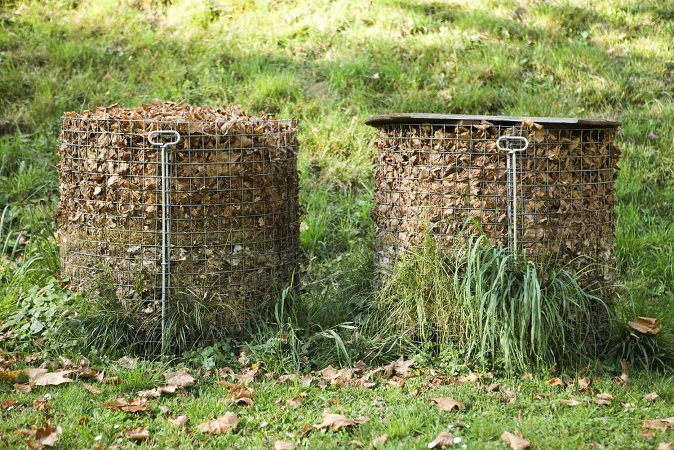
- If digging a pit is not feasible, you can store leaves in a box placed on the ground. Secure the box’s base, position it on the soil, fill it with leaves, and follow the steps outlined earlier. After filling the box, cover it.
- You can also create leaf mold in a plastic bag. For this, use a large garbage bag. Add a layer of soil to the bottom, then fill the bag with leaves. Poke holes in the bag for airflow. After adding water and nitrogen fertilizer, seal the bag. The materials must remain inside for two years to produce ideal leaf mold.
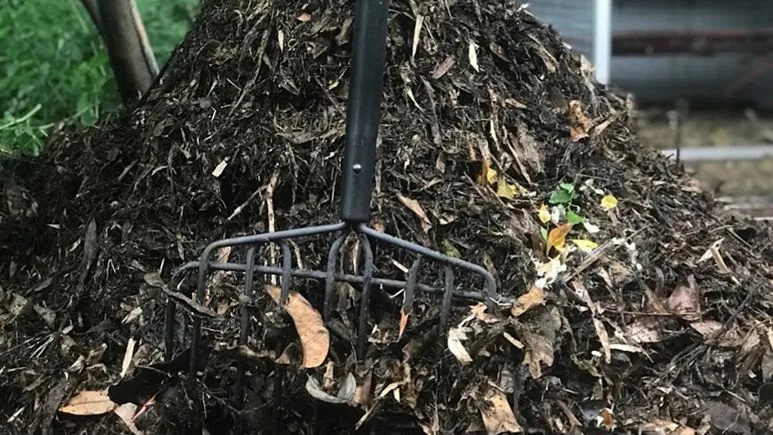
- Use a shovel or fork to turn the leaves monthly. This prevents mold and ensures oxygen reaches all parts of the pile.
- If you want leaves to turn into leaf mold faster, shred them before storing.
- Leaf mold is typically usable after one year, but those aged over two years have higher quality.
- Microorganisms require nitrogen as a nutrient more than any other substance. Adding nitrogen to the leaves supplies their nutritional needs, boosts their activity, and enhances decomposition.
- Thin leaves, such as sycamore, maple, and similar varieties, decompose more quickly. If you want your leaf mold ready within a year, use thin leaves.
- For making leaf mold, it’s best to start in the fall.
- Once the leaf mold is ready, sift it to remove debris.
- Never use leaf mold in soil for cacti or succulents. Leaf mold retains soil moisture, which can cause rot and damage in succulents.